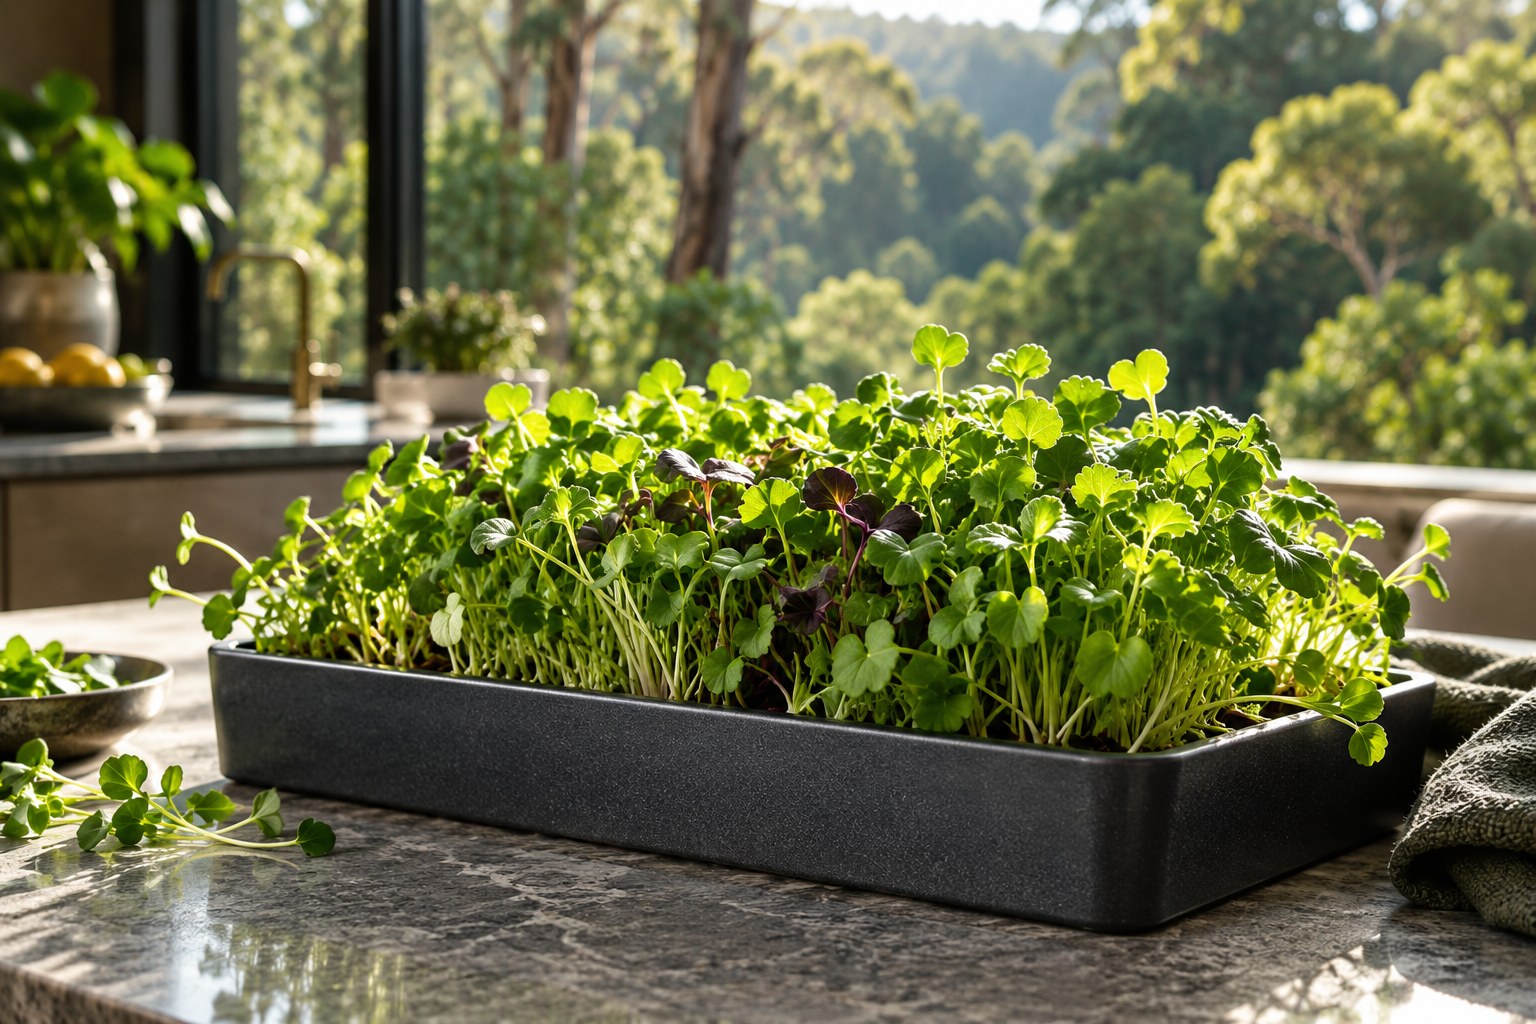
A tray of microgreens is a manageable first growing project: small enough to watch closely, and useful in the meals you already make. Start with one variety and one tray. The aim of your first crop is to learn what works in your kitchen, then repeat it.
You need seeds intended for edible microgreen growing, a clean tray, suitable medium, water and light. Follow the seed instructions, check the tray daily and cut the edible shoots above the medium when ready.
Before you sow a single seed
Choose a place you pass every day. Put an empty tray there first and check that you can reach it comfortably, lift it without spilling and keep the surrounding bench dry. A growing corner should earn its place in the kitchen, not become another thing to shuffle around at dinner time.
Read the seed packet before filling the tray. Different varieties can need different preparation, sowing rates and harvest times. Do not apply a soaking or blackout method from one crop to every other crop.
- Keep the seed label and batch information until the crop is finished.
- Set aside clean scissors and a washable surface for harvest.
- Label the tray with the variety and sowing date.
A simple first-tray routine
- Prepare a clean container with drainage suited to your growing system. Use a catch tray if needed to protect the bench.
- Add your chosen microgreen medium and moisten it according to its instructions.
- Spread the recommended seed amount evenly. Avoid tipping most of the packet into one corner.
- Follow the variety’s germination instructions, including any covering or soaking directions.
- Once the crop reaches the relevant stage, provide suitable light and check moisture every day.
- Harvest above the growing medium with clean scissors, then follow safe washing and storage guidance.
Make the daily check useful
Look at the whole tray, not just the tallest shoot. Are the corners developing like the middle? Is one side consistently wetter? Is the crop leaning towards a window? A quick photo from the same position each day is a useful way to notice changes.
Record what you changed. If a tray struggles and you change the seed amount, location and watering all at once, it becomes difficult to know what helped. For the next healthy trial, change one thing at a time. Discard a spoiled crop rather than experimenting with ways to eat it.
When will the first harvest be ready?
Many common microgreens reach harvest size in roughly one to three weeks, but the variety and growing conditions matter. Use the packet’s harvest guidance and the plant’s development together; a calendar reminder is a prompt to check, not proof that a crop is ready.
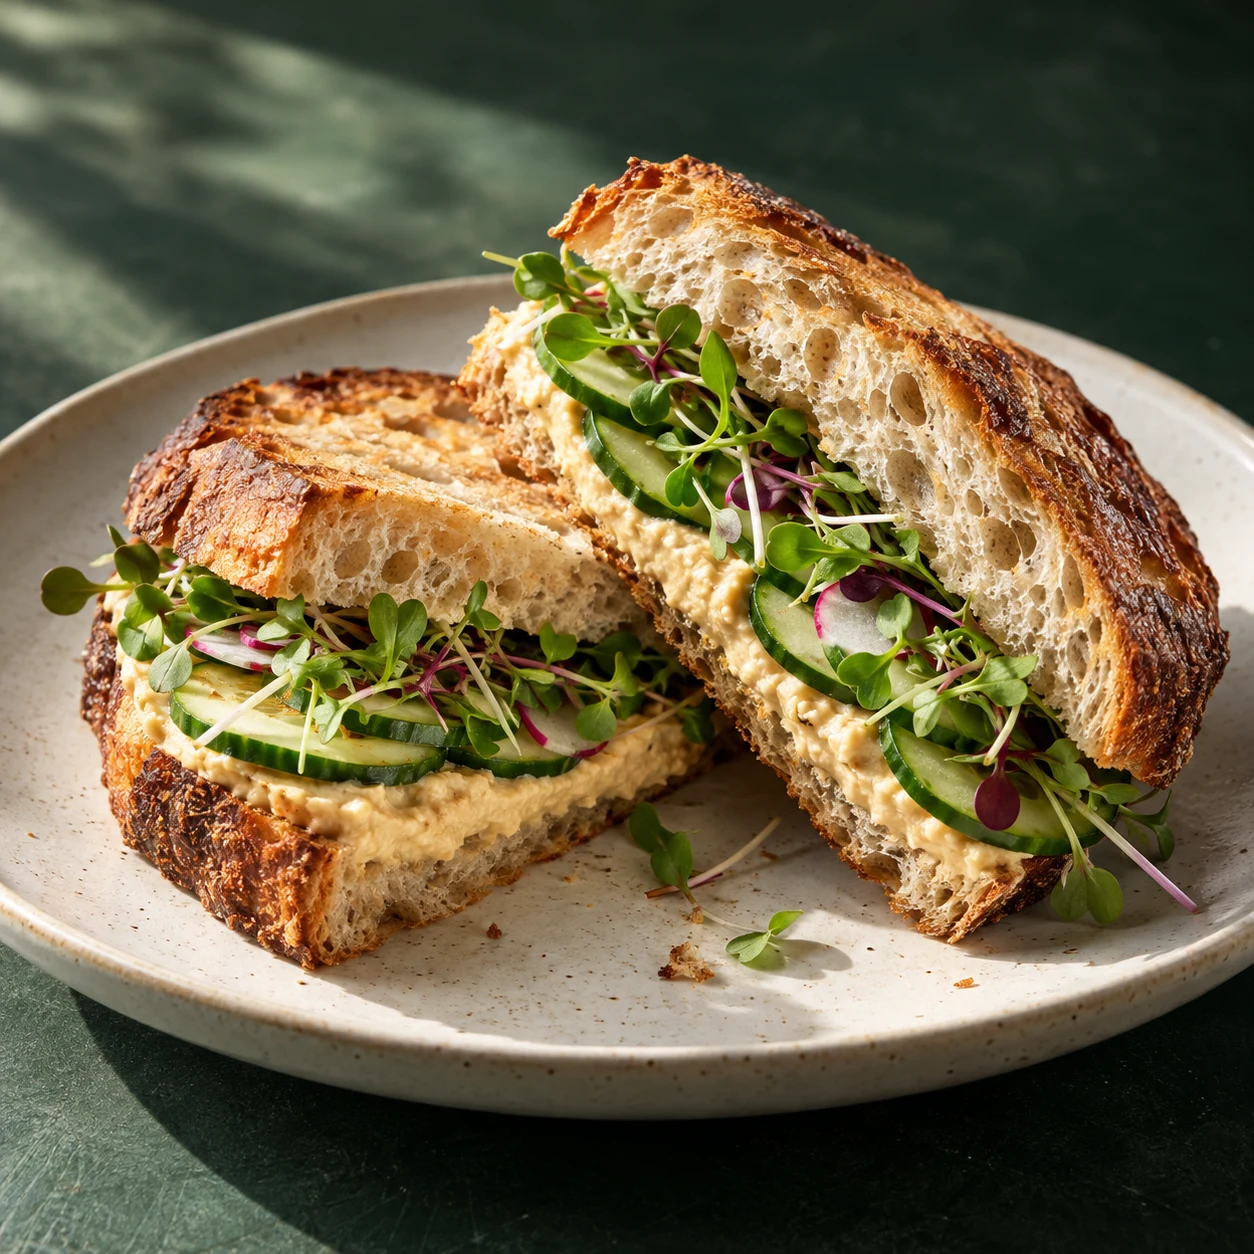
Plan the meal before you cut. A small first harvest might go into sandwiches or finish a bowl rather than fill a large salad. This helps you judge whether a second tray would actually be useful.
Turn the first tray into a repeatable habit
After harvest, write down three things: what you grew, where the tray sat and how you used the crop. Start the next sowing with clean equipment and fresh seed and medium. Keep the setup simple until you can repeat a result you like.
The growing guide is your quick reference. The journal’s light, harvesting and repeat-growing articles below cover the next decisions in more detail.